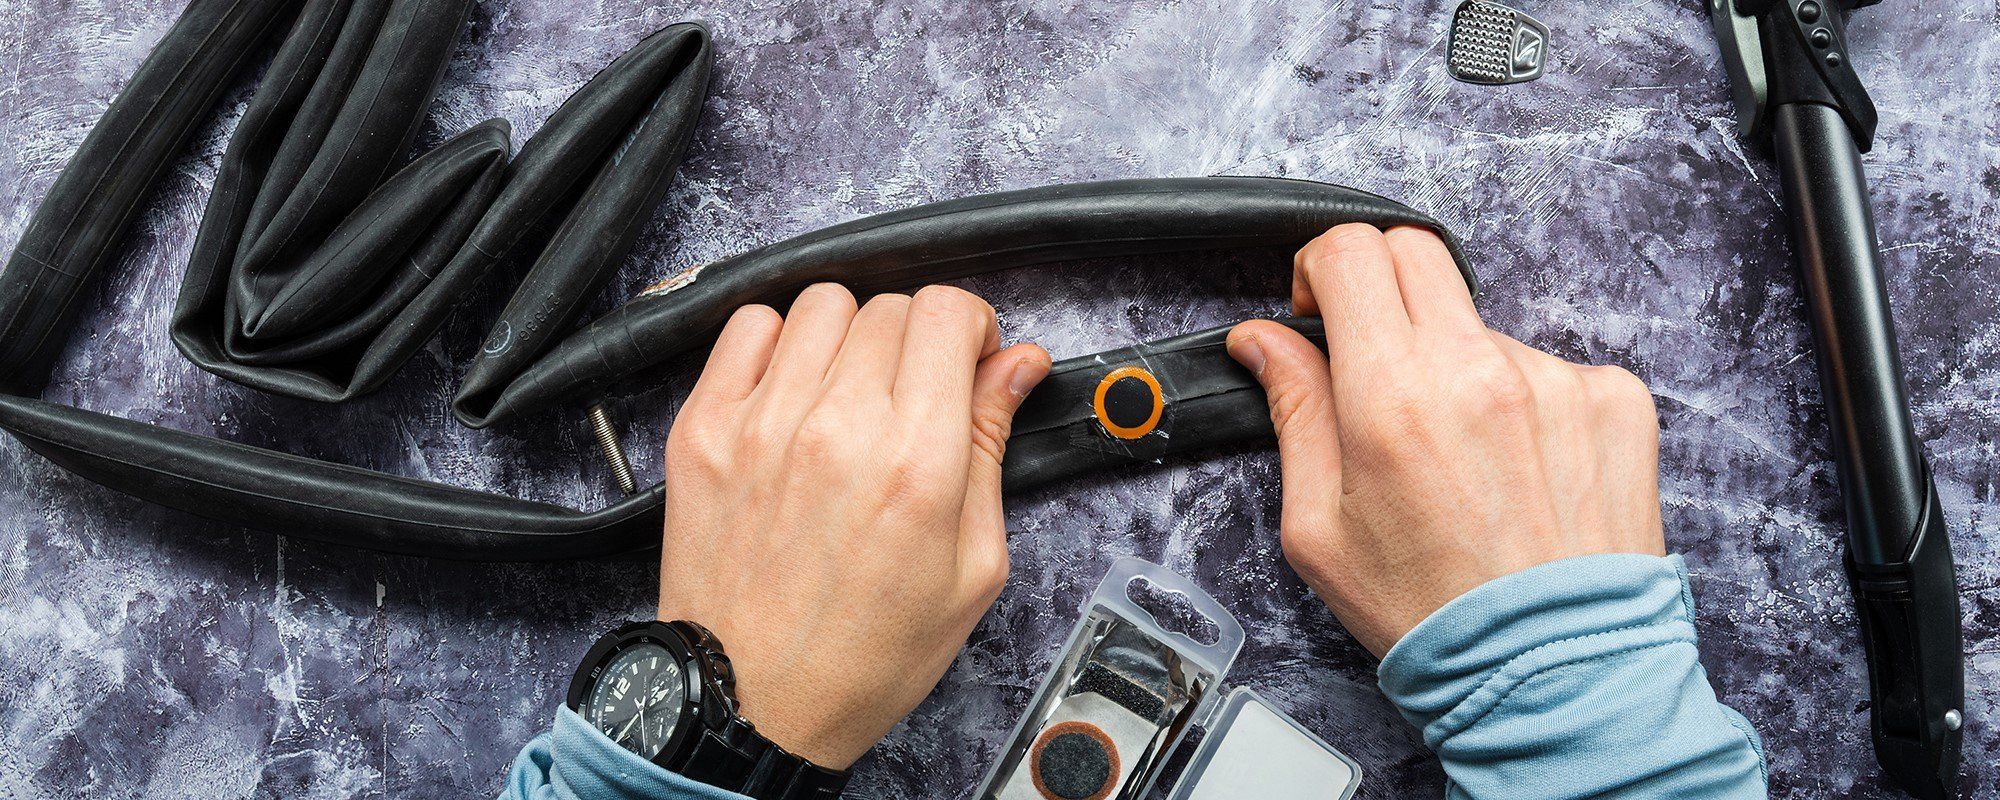
Mending and changing a bicycle tube: We love to cycle with our bikes. A flat tire can quickly spoil the good mood. Fortunately, tire patching is very easy and quickly done. With these easy-to-follow instructions, even beginners can patch a bike tire in no time.

Bicycle tube bicycle tire patch – How it works
The simple steps to mend a bicycle tire or mend a bicycle tube in a quick overview. With this simple tutorial you can do it too 🙂 in the main part you will find an easy to understand step by step guide. Here is the quick overview:
✅ Pull off the jacket and take out the defective hose
✅ Find hole and patch
✅ Inflate bicycle tube and change bicycle tube
✅ Re-install the hose in the impeller and fit the cover.
Difficulty: easy
Duration: 30 minutes
Tools needed:
- Bicycle pump
- Bicycle patch set (patches and sandpaper or self-adhesive patches)
- Emery paper
- Tyre lever
- Optimally: water bath and ballpoint pen
Bike repair kit – which one is really good?
Which bike patch set should you use? Self-adhesive bicycle patches and also the classic bicycle patches with the adhesive tube (vulcanizing agent)?
A bike patch kit with high quality is important and cheap at the same time! Set here on brand quality. A good bicycle patch kit costs only a few euros. You can use it to patch a bicycle flat reliably. With a bad bicycle patch kit, the next flat tire is already programmed! You’ll only get angry.
Very good experience I have made with the self-adhesive Park Tool patch set. Even the self-adhesive patches hold securely to the bicycle tube and are a clean affair.
- Sechs Tubenaufnäher mit Schleifpapier in einer hübschen kleinen Tragetasche
- Selbstklebender Flicken mit 3M dehnen, biegen und verdrehen sich mit der Röhre
- International products have separate terms, are sold from abroad and may differ from local products, including fit, age ratings, and language of product, labeling or instructions.
* Werbung - Aktualisierung am 2025-07-11, Preis kann gestiegen sein, Als Amazon-Partner verdiene ich an qualifizierten Verkäufen, Bild:Amazon
Would you rather have a bike patch set with adhesive (vulcanizing agent), then the classic is the right choice. The patch set from TIP TOP costs only a few euros and has been tried and tested for decades. Never change a running system!
- Reperaturkästchen Flickzeug TipTop TT02
- für Fahrrad
- hochwertiges, gut zu verarbeitendes Flickzeug
* Werbung - Aktualisierung am 2025-07-11, Preis kann gestiegen sein, Als Amazon-Partner verdiene ich an qualifizierten Verkäufen, Bild:Amazon
To inflate the patched tube, you will need an approved bicycle pump. High quality bicycle floor pumps fit all bicycle valves. Bicycle hand pumps are usually compatible with 2 of the 3 bicycle valve types.
Mending a bicycle tube – detailed step by step instructions
With the step-by-step guide to mending bike tires, even beginners can do it. Let’s start with Bicycle Tire Repair.
Preparations for repairing the bicycle tube (important!)
There are a few prerequisites for successful bicycle tire repair. Additionally, there are a few details to keep in mind so you don’t get another flat right away. These topics are covered in this section. The next section is about the actual repair of the flatfoot.
The following are important tips to keep in mind:
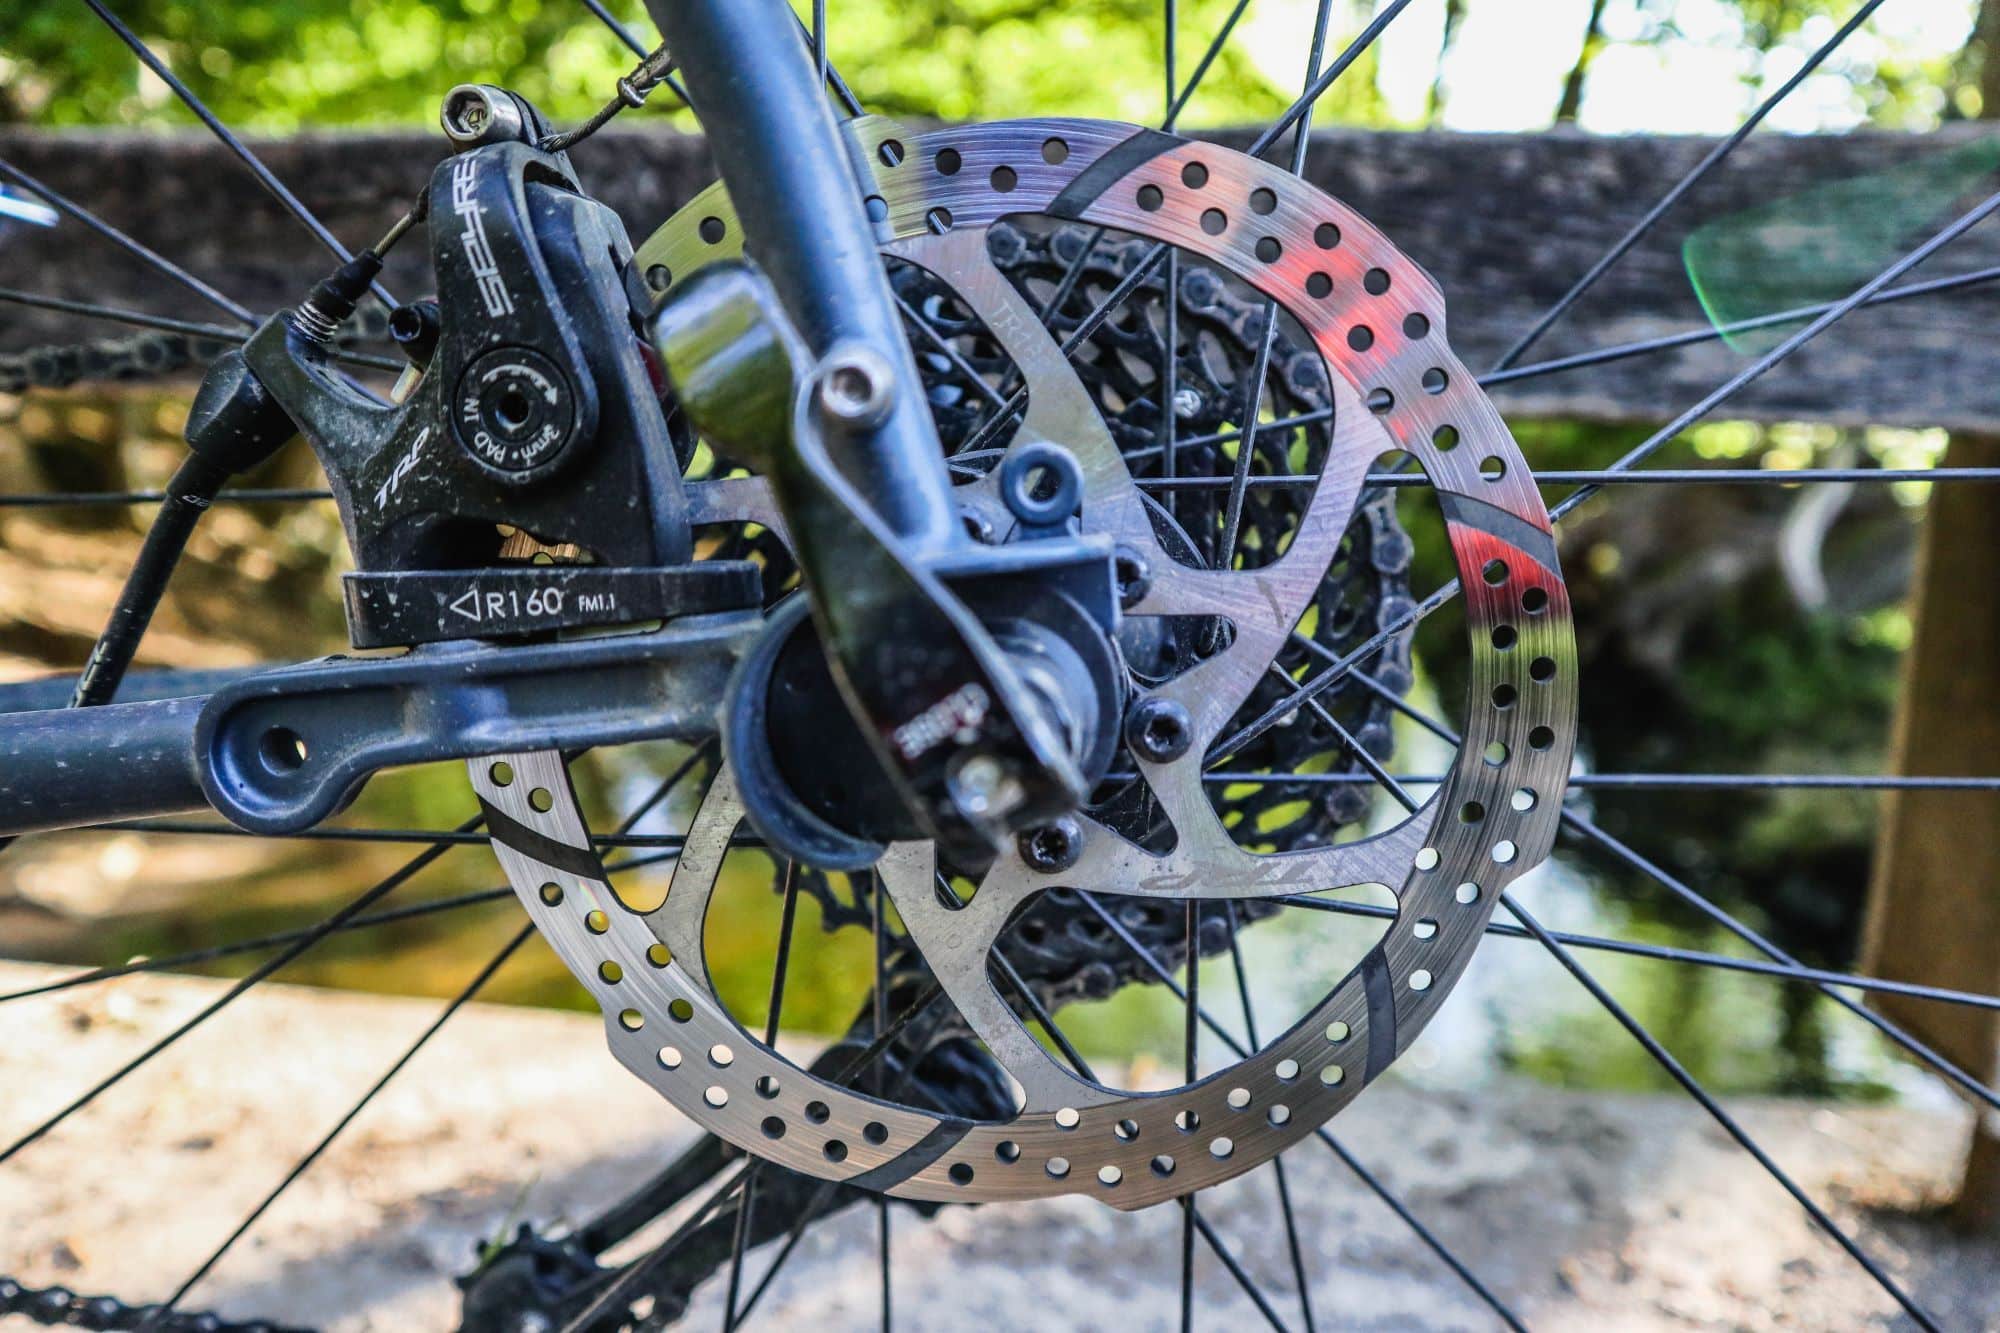
- Remove the impeller: First the impeller must be removed from the bike. There is no other way to lift the tire and remove the inner tube. The wheel can be removed very easily. Especially if the defect occurred at the front wheel. You can do it by hand if your bike has a quick release. On a bike with a socket axle, you’ll need a bus wrench.
- Remove the bicycle tire from the bike: The bicycle tire must be removed from the wheel on one side.This works with a tire jack. Only with one side removed bike tire you can get to the tube. First, completely deflate the bike from the bike tire. Rake the tire lever between the wheel and the casing. On the opposite side to the bike valve works best. You are allowed to work with a little pressure. You can detach the bicycle casing from the wheel with a lever movement.
- Remove the inner tube from the wheel: Screw off the fixing ring on the bicycle valve and remove the inner tube from the wheel. Now you have the defective bicycle tube in your hand.
- Remove sharp objects: Carefully remove the inside of the impeller and the inside of the jacket. Also, look very closely at the defective hose. You’ll often find pointed objects like thorns, broken glass, or small wires. Be sure to remove the object. Otherwise you are done with the bicycle tire patch and immediately get another flat tire. However, you can also have a flat tire and there is no longer a foreign object on the bike.
Apply bicycle patches
Now we start the actual bicycle tire repair:
- Inflate defective hose: Inflate the defective hose. You’ll probably hear a hiss right away. You can either find the hole by listening to the noise or you can carefully remove the hose. At the place with the hole you feel then the air escape
- Broken hose in water bath: Despite all your efforts, you can’t find the spot with the hole? Fill a bucket or small tub with water. Immerse the hose completely or partially in the water bath. If the place with the hole is under water, you will see the air escaping in the form of air bubbles.
- Mark the hole with a ballpoint pen: To find the hole again at any time, draw a circle around it. A ballpoint pen is best suited for this purpose
- Let air out of tire again: Remaining air can flow through the hole. The still fresh bicycle tire patch can then not adhere properly. Therefore, open the valve and let the air escape completely. With the bicycle valve, the valve is opened with a counterclockwise rotation. The air can then escape by pressing on the pin.
- Roughening the hose: The hose should be roughened generously around the hole. Do not be so rough that you create a second hole in the hose. We want to patch the hole 😉 by the Anrauen small grooves in the hose. The adhesive (vulcanizing agent) can flow in there. When gluing on the bicycle tire patch later, a more reliable connection can then be made between the tube and the patch.
- Apply adhesive (vulcanizing agent) to hose: Apply vulcanizing agent to the affected area. The vulcanizing agent allows the hose and the agent to form a single unit. Unlike normal adhesive, the vulcanizing agent is elastic. Therefore, use only the vulcanizing agent for the repair and no normal glue.
- Wait 5 minutes: To make a reliable connection, the vulcanizing agent must no longer stick to the finger. As soon as the vulcanizing agent no longer sticks to the finger, the bicycle patch can be applied. Not before!
- Pull off patch: pull the silver backing off the patch. Do not touch the adhesive side of the patch. Otherwise grease or dust could get onto the adhesive side. This could affect the reliability of flying.
- Apply patch to hole & press firmly: Apply the bicycle tire patch to the adhesive. Then squeeze it really tight! In order to press the bicycle tire patch properly, you can use a bicycle tire lever. Alternatively, some patches already have an integrated aid. You can apply the patch particularly firmly and reliably if you place the tube on a round object. A water bottle or a bicycle water bottle is particularly suitable.
- Loosen transparent foil! When the bicycle patch is really firmly and reliably attached, you can remove the transparent film. But this is by no means a must. When loosening the foil, there is always the risk of tearing off the patch. Therefore, the foil can also remain on the patch.
Check success of bicycle tire repair
The tire is patched. What is important now is the success test of the bicycle tire repair:
- Check success: you want to play it safe and check the success and your success in bicycle tube patching? Then put the patched bicycle tire back into the water bath now. Pump air into the tire now. May I congratulate you already 😀 You have learned how to mend a bicycle tire and successfully mended your first and the defective bicycle tire. Detach and start again. It is better to notice the problem now than when the bicycle tube is already firmly seated under the cover.
- Replace the tube without damaging it: Minimally inflate the bicycle tube. With a good bicycle hand pump 1, 2 or 3 air blasts are enough. Carefully reinsert the inner tube under the tube between the shell and the wheel. Tighten the fixing ring on the bicycle valve. Press the mantle back into the bicycle wheel. Be extra careful with this. This work can be very fiddly. Sometimes you will need strength to do this and will need to use a tire lever to help. Once the tyre is firmly seated in the rim of the wheel, you can reattach the fixing ring to the inner tube. Now you can fully inflate the bicycle tube.
Tip: The tube must fit the wheel circumference and the width of the tire. Otherwise you can get another flat tire early.
Frequently asked questions about: Bicycle tire repair
Let’s clarify the most frequently asked questions when changing and mending bicycle inner tubes
How often to change the bicycle tube?
A bicycle inner tube has a very long service life. Therefore, you do not have to change the bicycle tube regularly. A change is only recommended in the event of a flat tire. Over time, a bicycle inner tube also becomes porous. This increases the probability of a defect. However, we are talking about a point in time over several years. Even though modern bicycle inner tubes are very reliable: you will probably get a flat tire within this time and have to patch the bicycle inner tube or replace it. In the case of a replacement, the service life starts all over again anyway.
Mending a bicycle tube or changing a bicycle tube?
Sometimes the question arises: Repair the existing bike tire or should I rather just buy a new tube? You can patch the tube if it is still in good condition and you bring some time. If the tube has already been patched several times or you don’t have time (e.g. on tour) then you can also directly insert or buy a new bicycle tube and then change it.
How much does a bicycle inner tube cost?
A new bicycle tube costs between 4 and 8 euros. Standard models of the company Schwalbe are more than sufficient for almost all areas. It is usually worthwhile to buy several bicycle inner tubes in stock. This saves time and nerves. If you have a flat tire, you can replace the defective hose right away. Spending a few euros on a good bicycle tyre patch kit is also worthwhile. Then you can simply patch the defective hose yourself on the road or at home.
Which bicycle tube to buy?
The bicycle tube must fit the wheel circumference and the tire width. Otherwise further defects are programmed!
When it comes to bicycle inner tubes, tubes from the Schwalbe company have proven themselves over the years.
There are many different bicycle inner tubes on the market. At first glance, the market is very confusing. Fortunately, these three tubes are compatible with most bikes on the market:
- Schwalbe SV 15 for road bikes with 28 inch at 18 mm to 28 mm tire width*.
- Schwalbe SV 17 for trekking bikes, gravel bikes and cyclocrossers with 28 inch at 28 mm to 45mm tire width*.
- Schwalbe SV 19 for mountain bikes and gravel bikes with 38 mm to 2.4 inch tire width for different wheel sizes*.
On the packaging you will find further information about the compatibility of the tyres. Please take note of this info.
Were the instructions for mending bicycle inner tubes helpful? Do you have any questions about bicycle tire repair? Feel free to write me your comment 😉
Sources and further links:
Cover image: ©vzwer – stock.adobe.com


The steps to changing the bike tube without tire levers: In the first step, you should have a deflated tire because it is much easier to squeeze its sides. The second step is to loosen the beads. Get one tire bead into the center of the rim by pushing the tire into the bike’s rim. These beads will act as the primary support to ultimately push the tire off the bike rim. Start using your thumbs to push the tire bead off the bike rim. Then, push the rest of the bike tire away. The next step is to inflate the tube. When your tube has some air inside, which will definitely help retain its roundedness and proper shape. After this step, you might Pop the Valve and Insert the New Internal Tube: lay the tube over one side of your tire and align the valve bike stem with the stem hole. Then, carefully squeeze the tire where the hole is located and put the valve stem through the valve stem hole, pull on the bike stem to ensure that most parts of it go through the hole as much as possible. Finally, push the bike tire wall back into the rim.
This technique on how to change a bike tire without tire levers is perfect for mtb tires and other wide-tired bikes.